

Building your first PC might feel intimidating at first. There are cables, components, compatibility concerns, and the fear of damaging expensive parts. But here is the truth most experienced builders will tell you after their first attempt. It is much easier than it looks.
In 2026, building a PC has become more beginner friendly than ever. Components are more standardized, online tools help you check compatibility, and manufacturers design parts with clear installation steps. You do not need to be a tech expert. You just need patience, a bit of curiosity, and a willingness to follow instructions.
This guide walks you through everything step by step. By the end, you will not just have a working PC, but also the confidence to upgrade or troubleshoot it in the future.
Why Build Your Own PC Instead of Buying One
Before jumping into the process, it helps to understand why so many people still choose to build their own PC.
First, you get better value for money. Prebuilt systems often include markup costs, and sometimes lower quality components in hidden areas like power supplies or cooling systems.
Second, you get full control. Want a silent workstation or a high performance gaming machine? You decide every part.
Third, it is easier to upgrade later. When you build your own PC, you understand how everything connects. That makes future upgrades simple instead of confusing.
And finally, there is a personal satisfaction that is hard to explain until you power it on for the first time.
Step 1 Choose the Right Components
Think of this as planning your build. Every PC is made of core parts that must work together.
Here are the essentials you need:
Processor CPU
The brain of your computer. In 2026, popular choices include Intel Core Ultra series and AMD Ryzen 8000 series. Choose based on your needs. Gaming, editing, or general use.
Motherboard
This connects everything. Make sure it supports your CPU and has the features you need like WiFi, enough USB ports, and RAM slots.
RAM
For most beginners, 16GB is a good starting point. If you plan heavy multitasking or editing, consider 32GB.
Storage
Go for SSDs. NVMe drives are now standard and much faster than older SATA drives.
Graphics Card GPU
Important for gaming, design, and AI tasks. If you are not gaming, integrated graphics might be enough.
Power Supply PSU
Do not cut corners here. A reliable PSU protects your system. Choose a trusted brand with enough wattage.
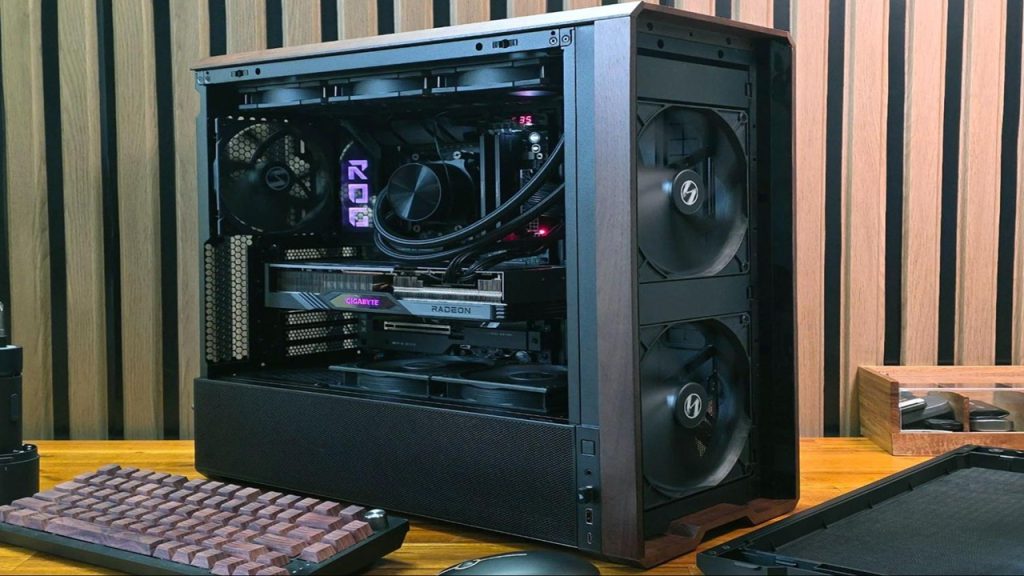
Cabinet Case
Pick one that fits your components and has good airflow. A well ventilated case keeps temperatures low.
Cooling System
Most CPUs come with stock coolers, but aftermarket coolers offer better performance and quieter operation.
A simple tip many beginners overlook is using compatibility tools like PCPartPicker. It helps avoid mismatched components.
Step 2 Prepare Your Workspace
You do not need a fancy setup. A clean table with good lighting is enough.
Make sure you have:
A screwdriver
Anti static precautions like touching a metal surface before handling parts
Enough space to organize components
Avoid building on carpets if possible, as static electricity can damage parts.
Step 3 Install the CPU on the Motherboard
This is the step where many beginners get nervous.
Place the motherboard on its box. Open the CPU socket carefully. Align the CPU with the marked corner and gently place it in position. Do not force it.
Lock the socket, and you are done.
It is simpler than it sounds, and modern CPUs are designed to fit only one way.
Step 4 Install RAM and Storage
Next, install your RAM sticks. Line them up with the slots and press until you hear a click.
For SSD installation, locate the M2 slot on the motherboard. Insert the drive at an angle and secure it with a screw.
At this stage, your motherboard already holds three major components.
Step 5 Mount the Motherboard into the Case
Now move to your case.
Install the standoffs if they are not pre installed. Carefully place the motherboard inside and align it with the screw holes. Secure it gently.
Take your time here. Rushing can lead to misalignment.
Step 6 Install the Power Supply
Place the PSU into its designated area, usually at the bottom of the case.
Secure it with screws and start routing the cables. Good cable management improves airflow and makes your build look clean.
Step 7 Install the Graphics Card
If you have a GPU, insert it into the PCIe slot on the motherboard.
Push it in firmly until it clicks. Secure it with screws and connect the power cables from the PSU.
This is often the most exciting part for gamers.
Step 8 Connect All Cables
This step can feel confusing, but it is mostly about patience.
You will connect:
Power cables to motherboard and CPU
Front panel connectors for power button and LEDs
USB and audio headers
Fans and cooling cables
Your motherboard manual is your best friend here. Follow it carefully.
Step 9 First Boot and BIOS Setup
Once everything is connected, it is time for the moment of truth.
Plug in your monitor, keyboard, and power cable. Turn on the PC.
If everything is correct, you will see the BIOS screen.
Check if all components are detected. Set your boot drive and ensure RAM is running at the correct speed.
Step 10 Install Operating System
Use a USB drive to install your operating system. Most people choose Windows 11 or newer versions available in 2026.
Follow the installation steps and let the system set up.
After installation, install drivers for your GPU, motherboard, and other components.
Common Mistakes Beginners Should Avoid
Skipping compatibility checks
Forgetting to plug in CPU power cables
Using too much force during installation
Ignoring airflow and cooling
Buying a cheap power supply
Every experienced builder has made at least one mistake. What matters is learning from it.
How Much Does It Cost to Build a PC in 2026
The cost depends entirely on your needs.
A basic PC for everyday use can cost around 400 to 700 dollars.
A mid range gaming PC may cost 800 to 1500 dollars.
High end builds can go beyond 2000 dollars easily.
Prices also change based on GPU demand and new releases.
Final Thoughts
Building your first PC is not just about assembling hardware. It is about understanding how your machine works.
The first time you press the power button and everything lights up, it feels different. You know every part inside because you placed it there yourself.
Do not worry if it does not work perfectly on the first try. Troubleshooting is part of the process, and it teaches you more than success ever will.
Once you complete your first build, you will realize something surprising. What once felt complicated now feels simple. And the next time, it will be even easier.
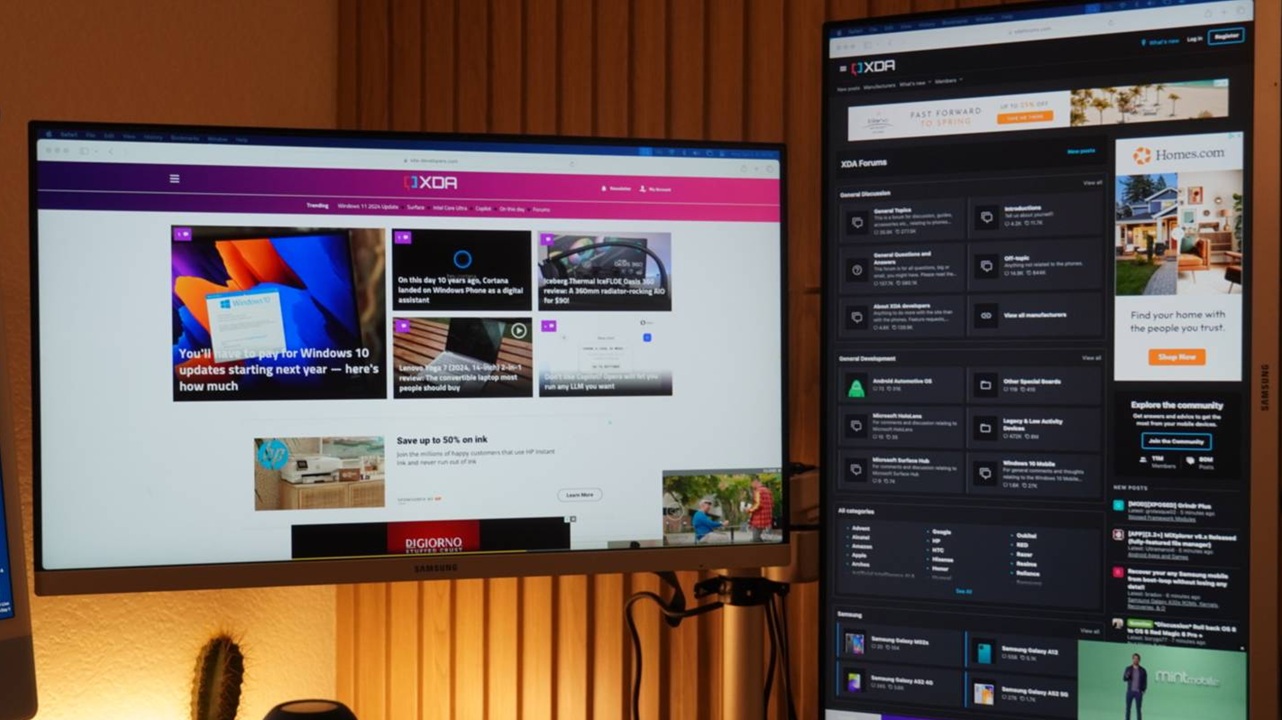
There is a moment every PC user recognizes. You click on a browser, wait a second, then another, and suddenly Read more

Walk into any electronics store today or scroll through laptop listings online and you will notice a new term showing Read more
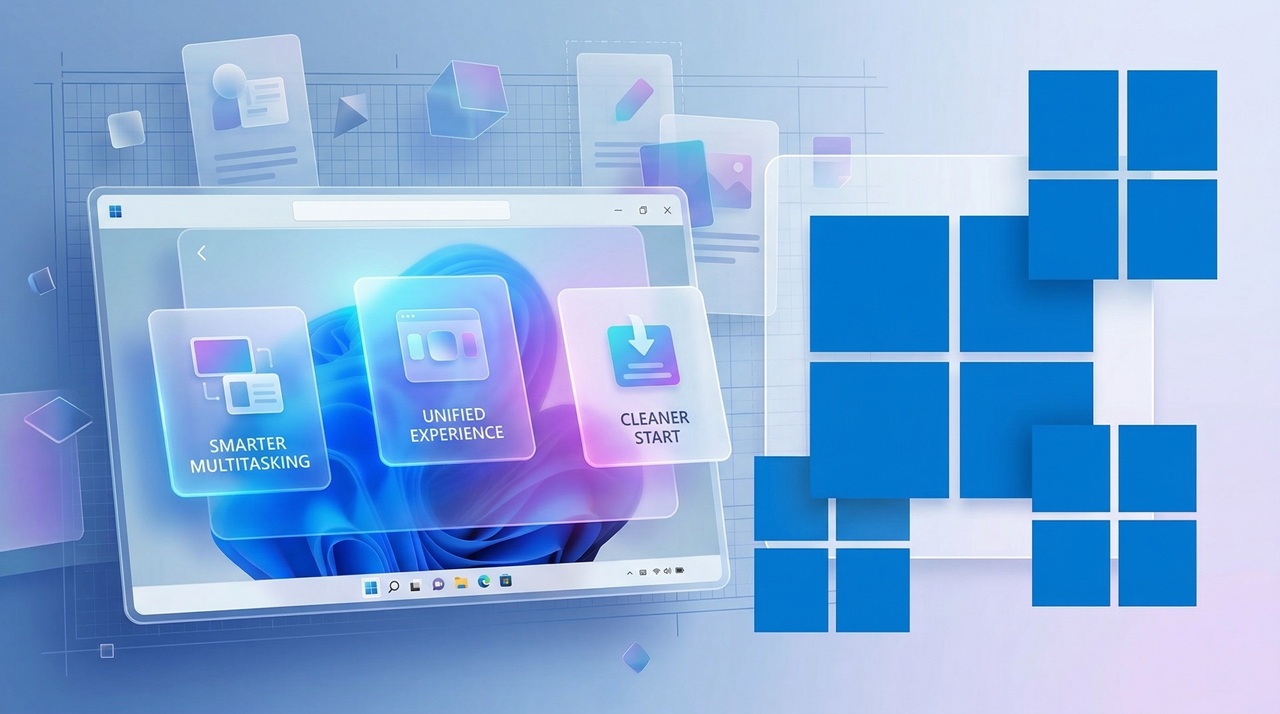
If you bought a PC in the last few years, chances are you are still running Windows 11 without many Read more
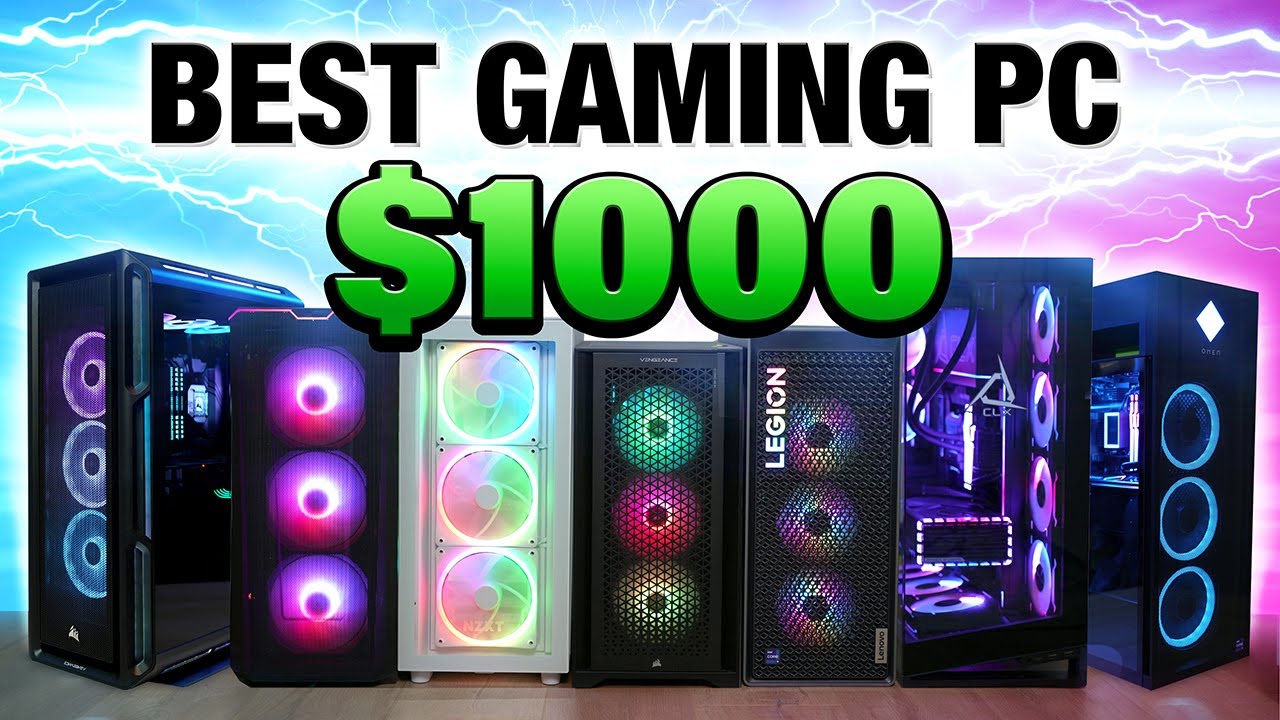
Buying a gaming PC used to feel like entering an expensive club. A few years ago, if you wanted smooth Read more

At AutoTechXpert.in, we're passionate about all things automotive—from the latest car launches and cutting-edge EV tech to in-depth reviews and performance insights. Our editorial team is made up of seasoned auto journalists, tech enthusiasts, and driving purists who live and breathe the road. With years of industry experience, we break down complex car jargon into real, relatable advice to help you make smarter automotive decisions.